
Seattle’s Central Waterfront
by Jennifer Ott
-
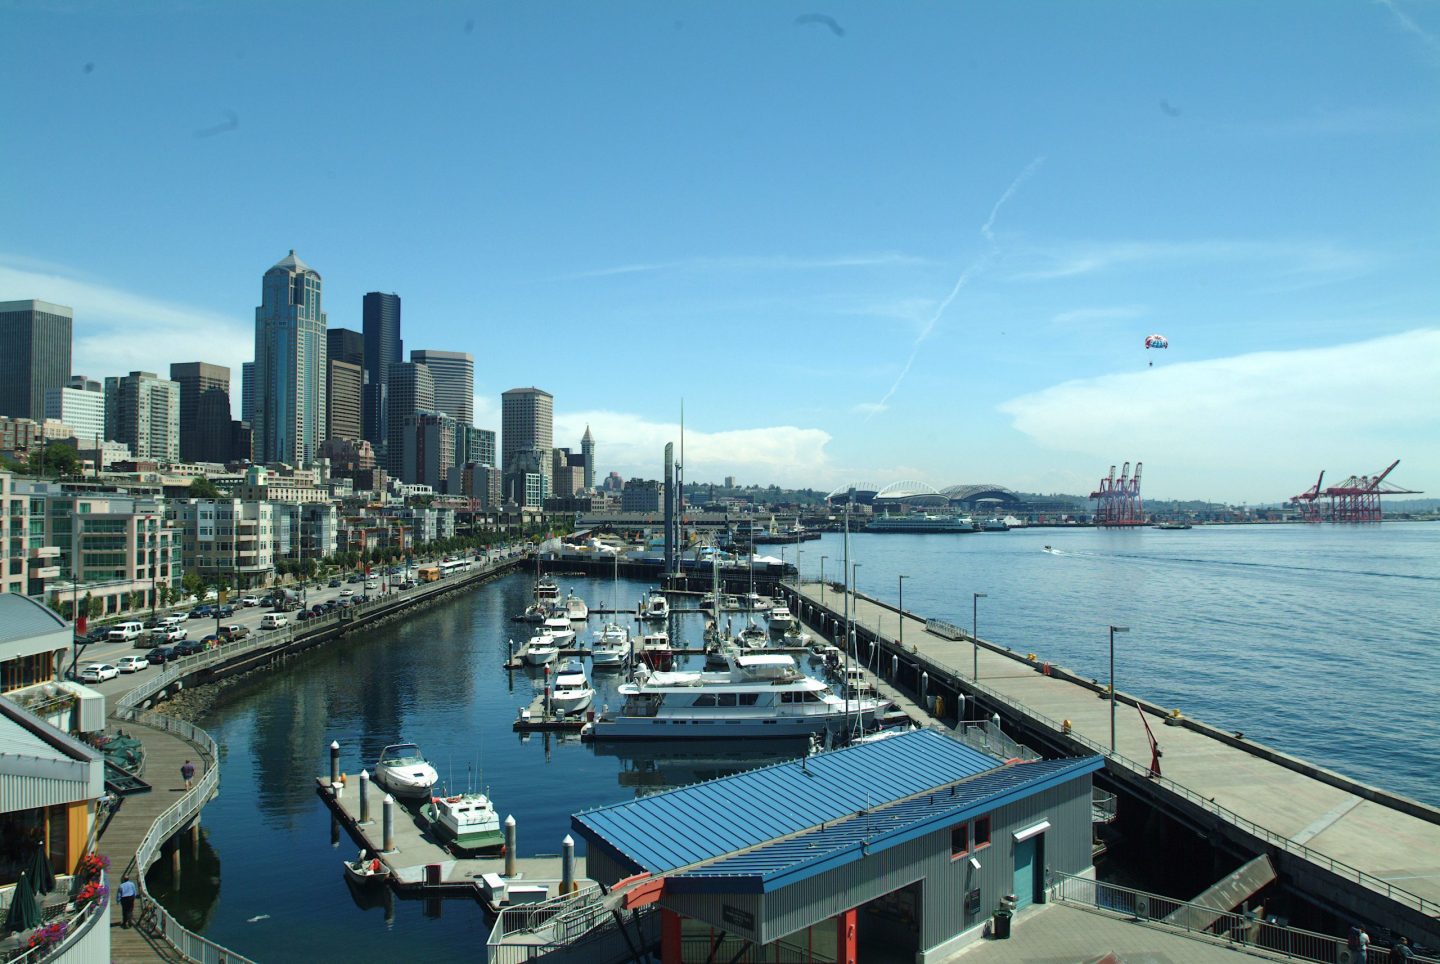
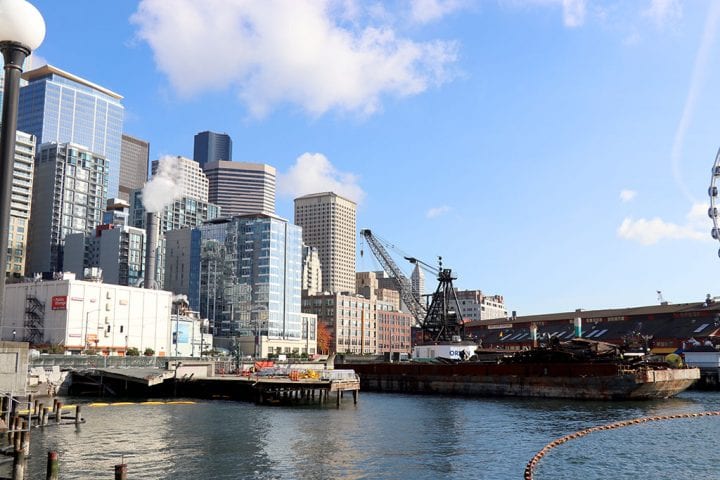
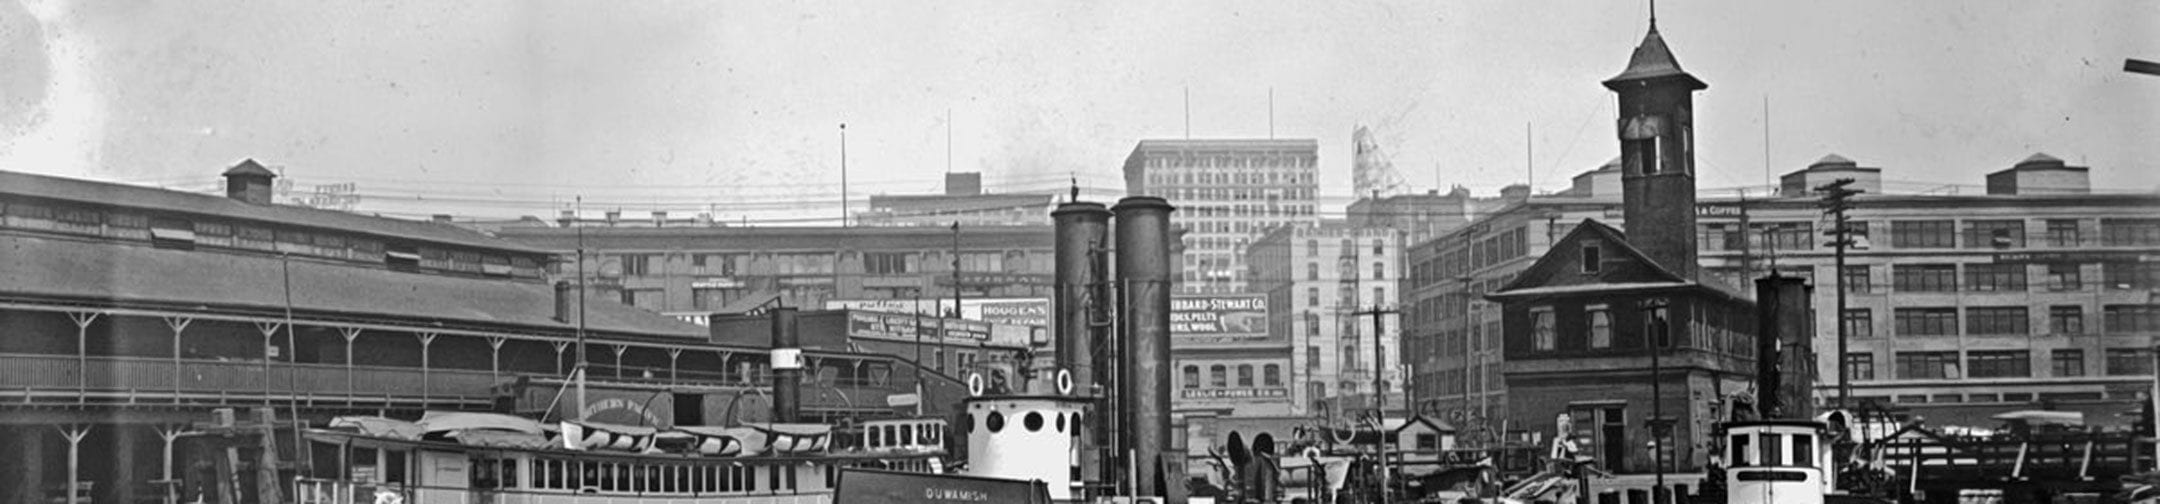
Seattle’s waterfront is a place where people have been gathering, trading, and playing for centuries, even as the actual ground beneath it has changed from tidelands to dry land and the vessels plying the waters have grown from canoes to post-Panamax (and, soon, super-post-Panamax) cargo ships. The changing landscape at first reflected the changing needs of the shipping industry. Canoes could easily land anywhere along the beach, but sailing ships and then steamships needed piers to span the distance between the shoreline and deep water. To move cargo over land, railroads needed access to the piers, but downtown’s steep hills limited them routes running parallel to the shore. The tension between north-south cargo movement and east-west people movement, amplified by the addition of a seawall, the vehicular route, Alaskan Way, and the elevated highway, the Alaskan Way Viaduct, shaped the character of the waterfront. With the removal of the Alaskan Way Viaduct and the waterfront has undergone another transformation, this time incorporating recreation and care for the environment.
Tour Stops
Original Shoreline Southern Point
Ballast Island/OIC Dock
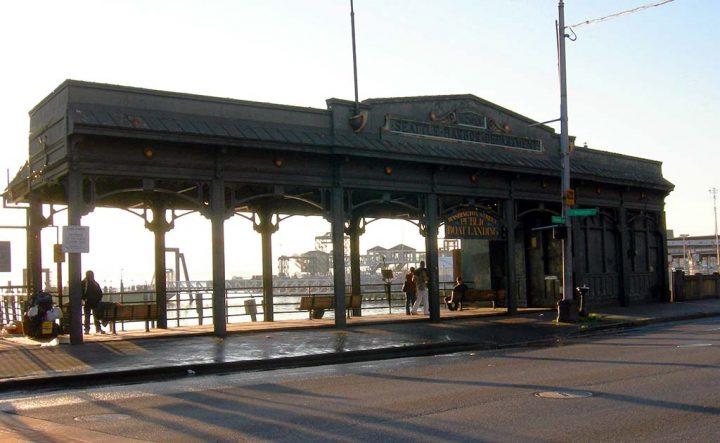
Washington Street Boat Landing
Yesler’s Mill
The Windward
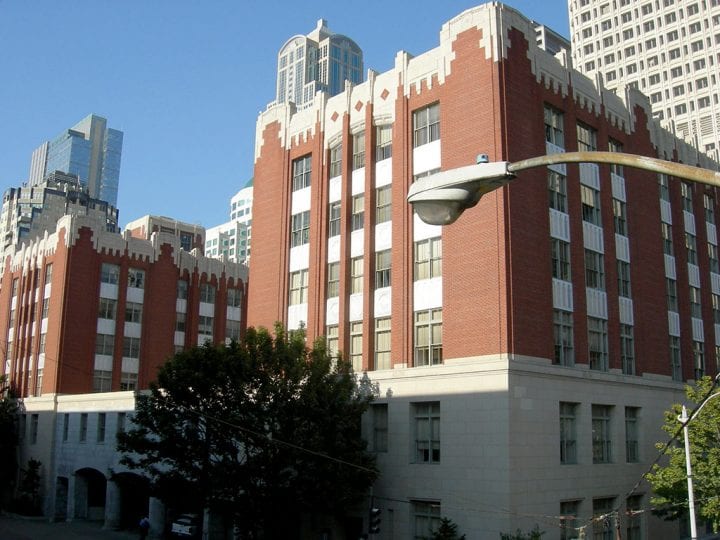
Federal Office Building
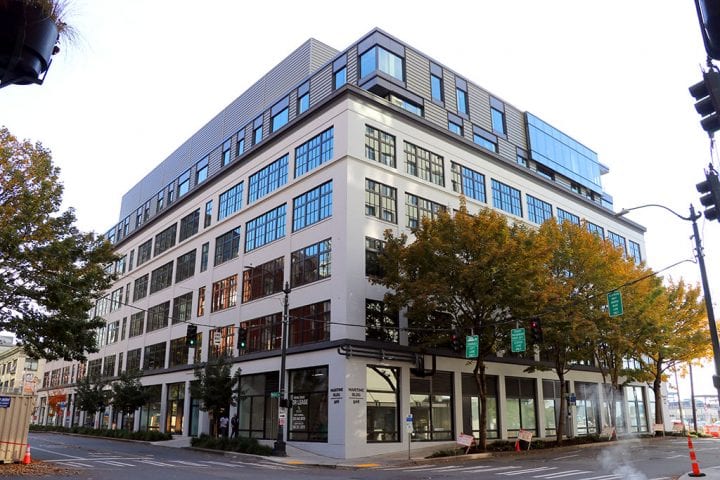
Maritime Building – Commission District
Fire Station/Colman Dock
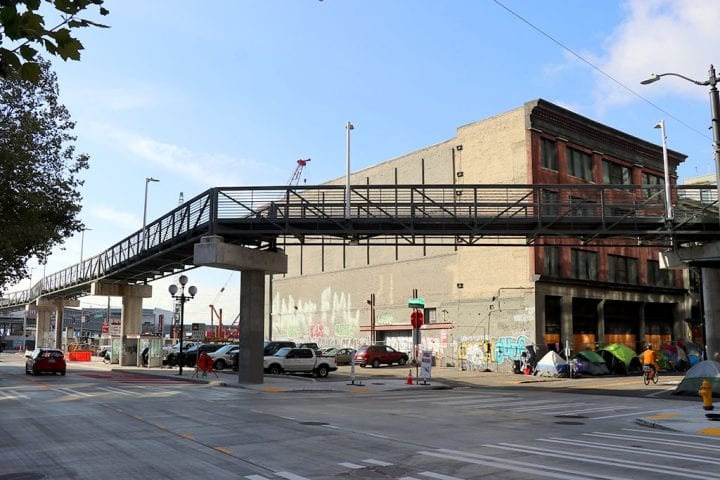
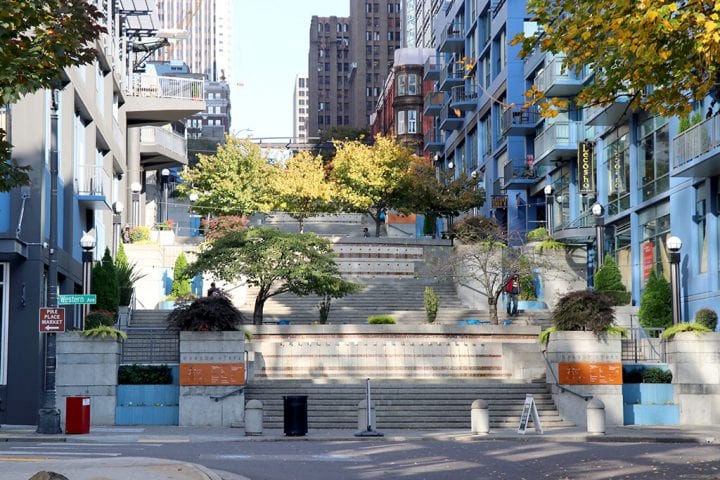
Bridging the Divide
Waterfront Park
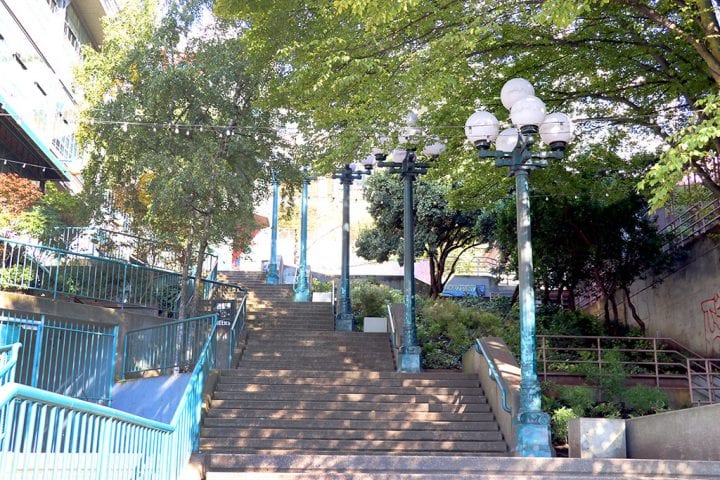
Kikisoblu
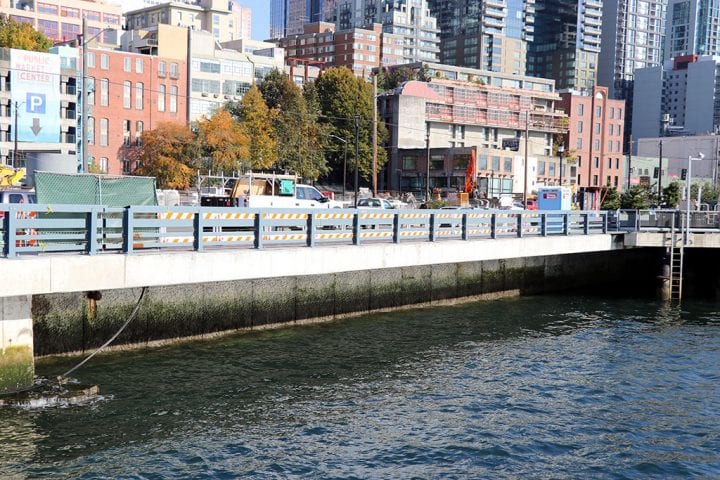
Alaskan Way Seawall
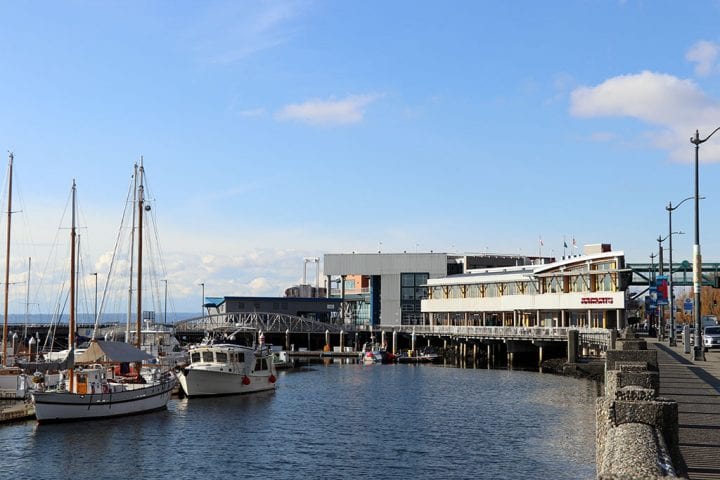
Bell Street Pier
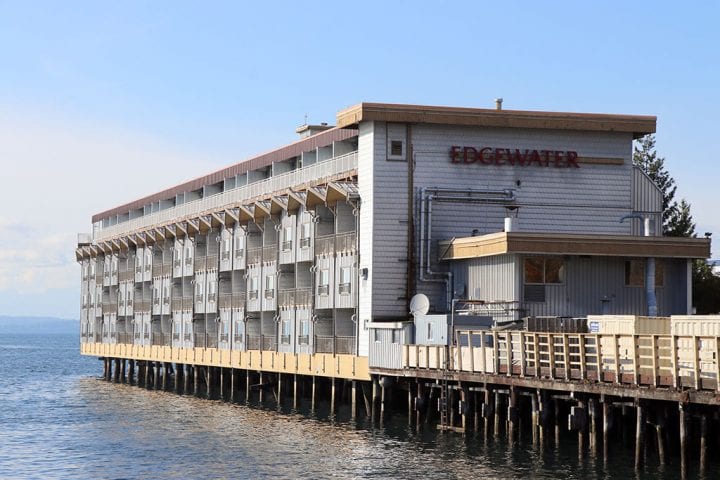
Edgewater Hotel
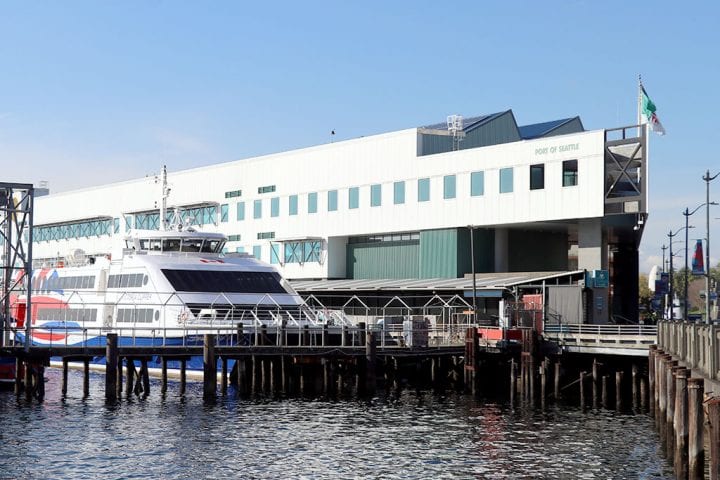
Port of Seattle
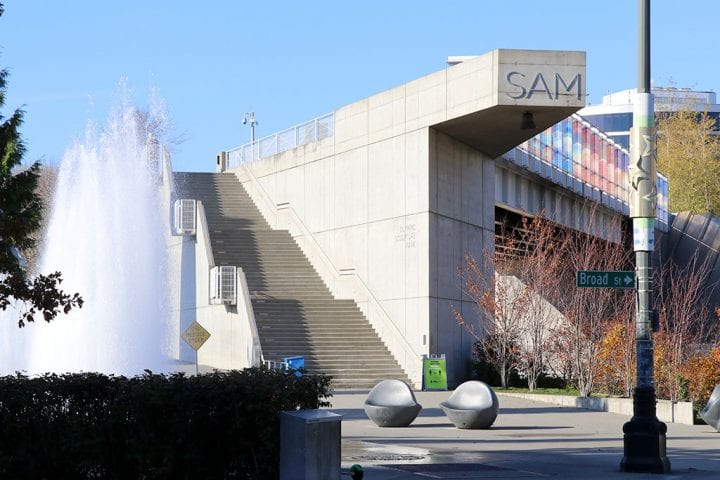
Olympic Sculpture Park
Original shoreline southern point
Weller Street Bridge
Ballast Island/OIC dock
Alaskan Way and Main Street
Washington Street Boat Landing
199 Alaskan Way
Yesler’s Mill
Yesler Way and Firehouse Alley
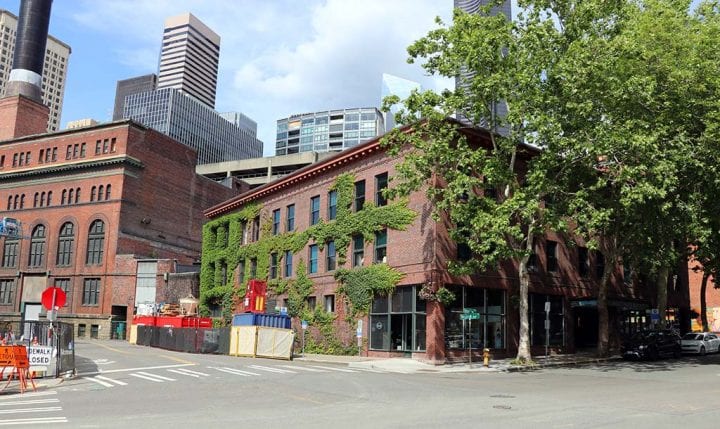
The Windward
Columbia Street and Western Avenue
Federal Office Building
909 1st Avenue
Maritime Building – Commission District
906 Alaskan Way
Fire Station/Colman Dock
925 Alaskan Way

Bridging the Divide
Western Avenue and University Street
Waterfront Park
1401 Alaskan Way
Kikisoblu
Alaskan Way and Pike Street Hillclimb
Alaskan Way Seawall
1951 Alaskan Way
Bell Street Pier
2225 Alaskan Way
Edgewater Hotel
2411 Alaskan Way
Port of Seattle
2711 Alaskan Way
Olympic Sculpture Park
Start of Elliott Bay Trail
Brought to you by HistoryLink
This tour made possible by generous support from